Properly storing coffee beans comes down to shielding them from four enemies: oxygen, light, heat, and moisture. Keep your beans in an opaque, airtight container at room temperature away from direct sunlight, and you’ll preserve their peak flavor for two to three weeks after roasting. The science here is straightforward but often misunderstood: coffee degrades through oxidation and volatile compound loss, processes that accelerate dramatically when beans are exposed to air or temperature swings.
Most coffee drinkers sabotage their morning cup before water ever touches the grounds. That bag of premium single-origin beans you just bought? It begins losing its delicate aromatics the moment you break the seal. Within days of improper storage, those bright fruity notes and complex undertones flatten into dull, papery bitterness. The difference between well-stored and poorly-stored beans isn’t subtle. It’s the gap between tasting a coffee’s origin story and drinking generic caffeine.
The good news: proper storage requires neither expensive equipment nor complicated rituals. You need one quality container and a basic understanding of what happens to roasted coffee over time. The roasting process creates hundreds of volatile compounds, fragile molecules that give specialty coffee its character. These compounds escape through degassing and break down through oxidation. Your storage method either slows this deterioration to a crawl or speeds it into a sprint.
This guide walks through the exact setup that preserves freshness, from choosing the right container to identifying when beans have passed their prime. You’ll also learn why popular storage myths like freezing beans or keeping them in the bag actually cause more harm than good.
Why Coffee Bean Storage Matters
Coffee begins its slow decline the moment roasting ends. Within the first 24 hours, roasted beans release significant amounts of carbon dioxide, a sign of freshness, but also the beginning of a race against time. By day three or four, the beans hit their sweet spot: CO2 has degassed enough to allow even extraction, yet volatile aromatic compounds remain vibrant and intact. This window typically lasts two to four weeks under ideal conditions, but poor storage can collapse it to mere days.
The science behind coffee degradation involves four primary enemies working in concert. Oxygen triggers oxidation, breaking down the delicate oils and aromatic molecules that give coffee its complexity. You’ll taste this as flatness, a cardboard-like quality, or in extreme cases, rancidity. Moisture is equally destructive, causing beans to absorb ambient humidity and accelerate staling reactions while potentially introducing off-flavors. Heat speeds every chemical process, pushing beans past their prime before you’ve had a chance to enjoy them. Light, particularly UV exposure, degrades both oils and flavor compounds through photodegradation, which is why clear glass jars on sunny countertops are a disaster.
These aren’t abstract concerns in a lab. When you open a bag of mediocre, stale coffee, you’re tasting the accumulated effects of oxygen exposure, temperature swings, and time. The bright acidity fades first, then the fruity or floral notes that distinguish a Kenyan from a Colombian. What remains is a hollow bitterness, a shadow of what the roaster intended and what the farmer cultivated.
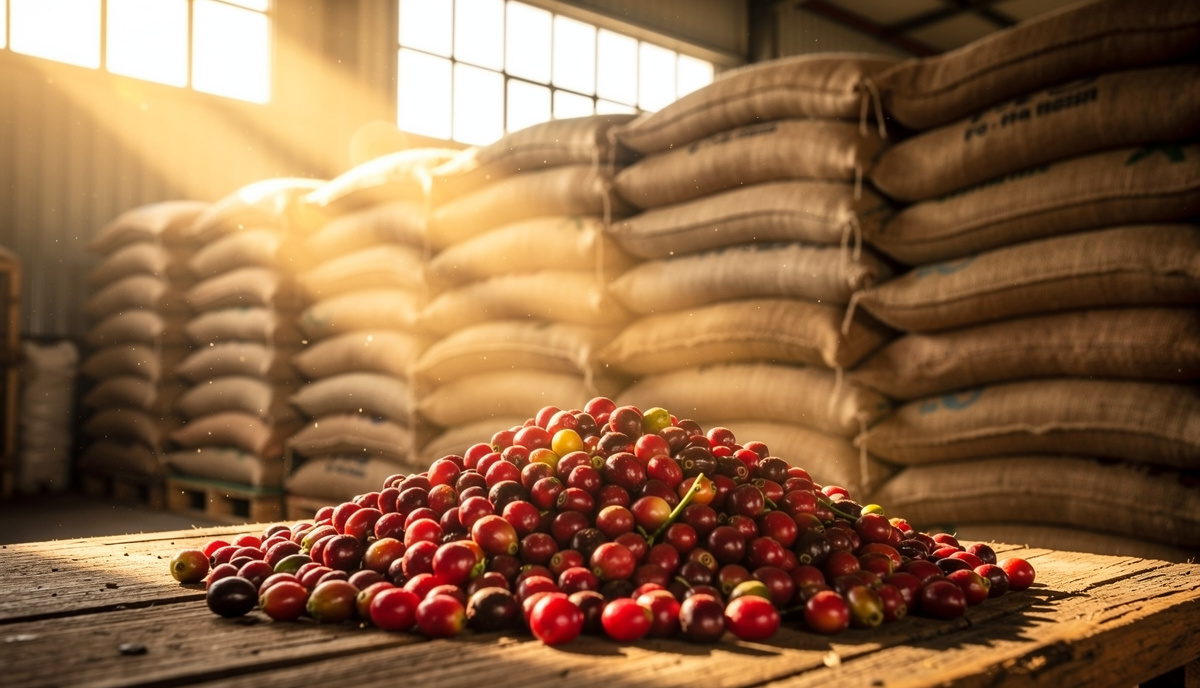
This brings us to the ethical dimension. Specialty coffee market growth reflects increasing appreciation for quality and traceability, but that appreciation must extend beyond the purchase. When you let a carefully sourced, expertly roasted coffee go stale through neglect, you’re discarding the labor of everyone in the chain: the producer who spent months nurturing the crop, the mill workers who processed it, the roaster who dialed in the perfect profile. Proper storage isn’t pedantic. It’s a practical way to honor that work and extract the value you paid for, cup after cup, until the bag is empty.
What You’ll Need: Storage Containers and Tools
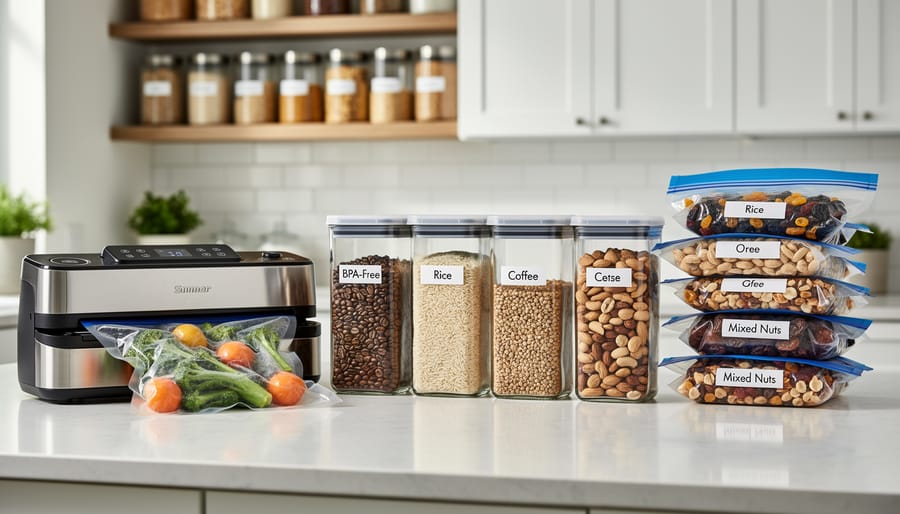
Storing coffee properly starts with the right equipment, and fortunately you don’t need a lot. The core requirement is an airtight container that shields beans from their primary enemies while maintaining stable conditions between brew sessions.
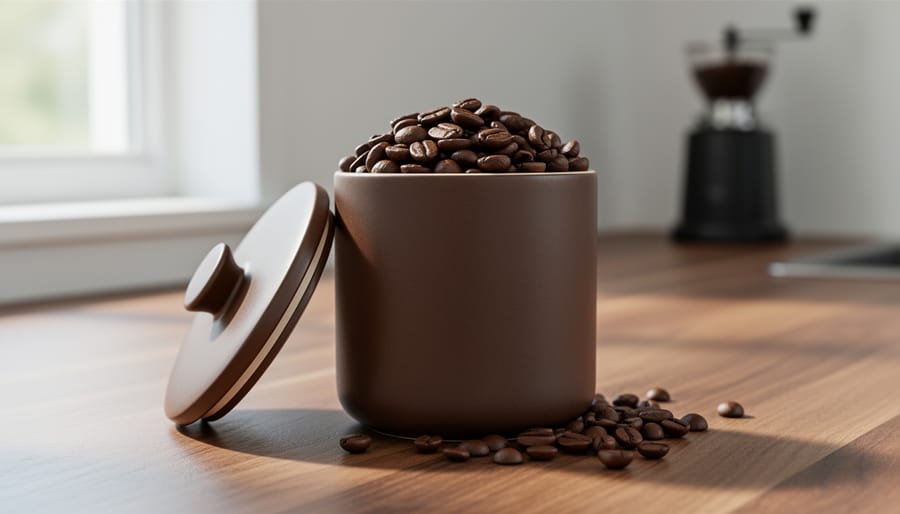
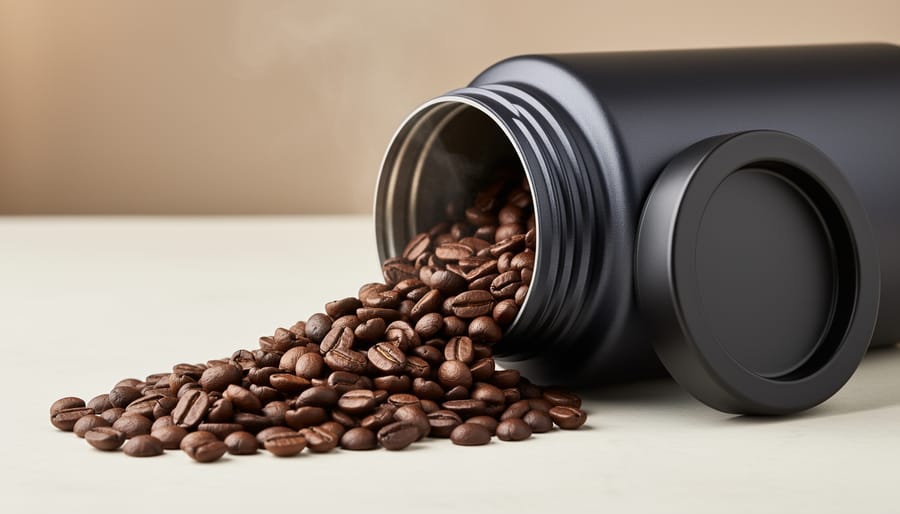
Your storage container should be opaque or kept in a dark location. Light exposure accelerates staling by breaking down the delicate oils and aromatics that give coffee its character. Ceramic canisters with rubber-seal lids work beautifully, as do stainless steel containers with airtight clasps. If you prefer glass for its aesthetic appeal, choose amber or frosted varieties and store them in a cabinet rather than on the counter.
Size matters more than many people realize. A half-full container means more air exposure each time you open it, so match your container capacity to your typical purchase quantity. For most home brewers buying 250-340g bags, a container holding around 400g leaves just enough headroom without excess air.
CO2 valve lids deserve special mention. Freshly roasted beans release carbon dioxide for several days after roasting, and a one-way valve lets this gas escape without allowing oxygen in. If your original bag has a valve and resealable closure, you might not need to transfer beans at all, but most retail packaging loses its seal integrity after the first opening.
Here’s what to gather for optimal coffee storage:
- Airtight container with rubber or silicone seal, sized to your purchase volume
- Opaque material or dark storage location to block light
- CO2 one-way valve lid for beans under two weeks post-roast (optional but beneficial)
- Small adhesive labels or masking tape for recording roast dates
- Vacuum-seal bags and sealer for freezing or long-term storage
- Hygrometer for monitoring storage area humidity if you live in very humid climates (optional)
Labels might seem trivial, but tracking roast dates transforms guesswork into precision. Write the date directly on your container or the bag itself, and you’ll always know whether you’re brewing at peak freshness or pushing the flavor window. In humid regions above 70% relative humidity, a simple hygrometer helps you verify your storage space stays dry enough to prevent moisture absorption, which dulls brightness and invites mold.
Storage Mistakes That Ruin Coffee Beans
Every coffee lover commits at least one storage mistake, and the consequences show up in the cup before you realize what went wrong. Understanding these errors, and why they matter, protects your investment and respects the work behind every bag of beans.
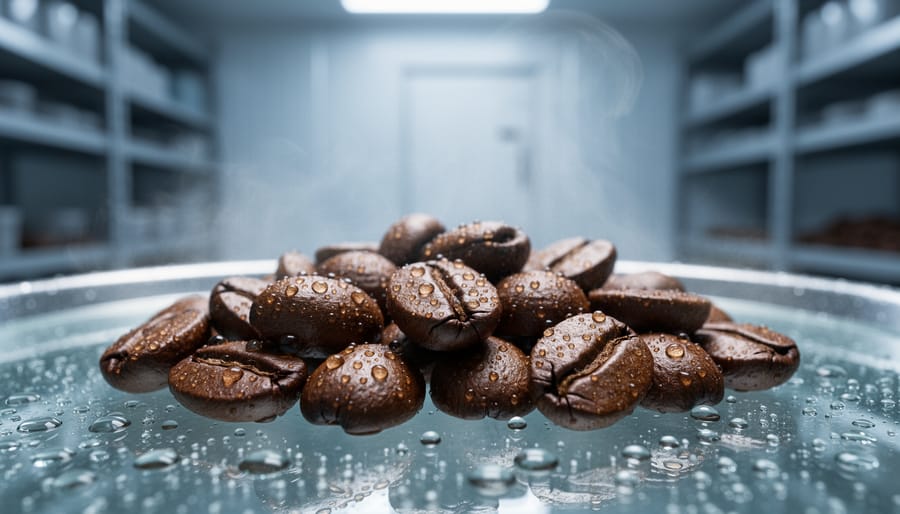
The refrigerator ranks as the most common mistake. Many assume cold temperatures extend freshness, but refrigerators actively destroy coffee through two mechanisms: temperature fluctuation every time you open the door, and condensation that forms when cold beans meet warm air. Each time you remove beans from the fridge, moisture condenses on their porous surface, creating the perfect environment for staling and off-flavors. The same applies to casual freezing without proper sealing.
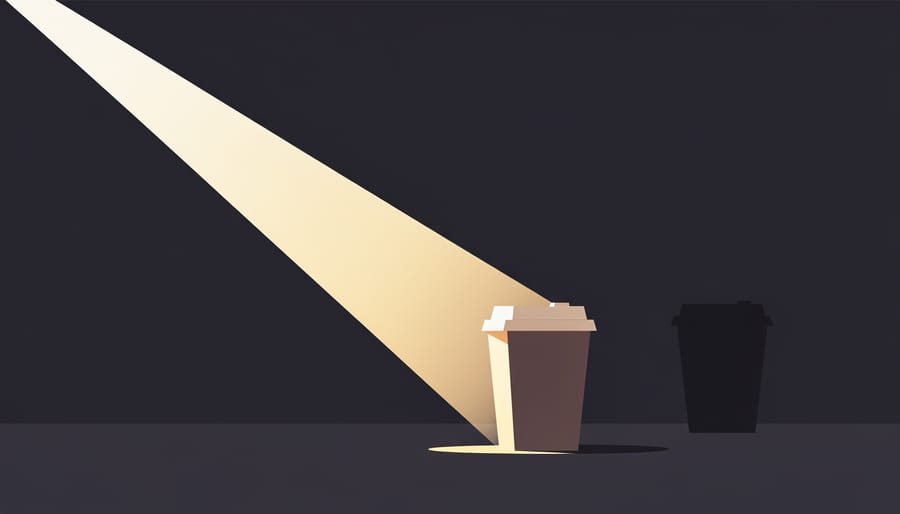
Clear containers placed on kitchen counters or shelves look appealing, but light degrades coffee faster than most people realize. Ultraviolet and visible light break down the delicate oils and organic compounds responsible for coffee’s complexity. A transparent jar on a sunny windowsill can degrade beans to noticeable flatness within a week, even if sealed properly. Opacity matters as much as airtightness.
Heat proximity ruins coffee through accelerated oxidation. Storing beans above the stove, near a toaster, or on top of the refrigerator exposes them to temperature swings that speed up chemical degradation. Even consistent warmth above 70°F accelerates the loss of volatile aromatics. Likewise, storing coffee near pungent spices or aromatic foods allows cross-contamination, coffee’s porous structure readily absorbs surrounding odors, and you’ll taste cumin or garlic notes if beans sit next to your spice rack.
Leaving beans in their original bag after opening invites disaster unless you fold and clip it meticulously. Most coffee bags lack true resealable mechanisms once the seal breaks, and even bags with tin ties don’t prevent air exchange. That half-rolled bag on your counter is bleeding flavor every hour.
Finally, buying a month’s supply at once guarantees you’ll drink stale coffee for the final two weeks. Beans peak between days 4 and 21 after roasting, then decline noticeably. Smaller, frequent purchases from local roasters ensure you’re always within that freshness window.
Step-by-Step: Storing Coffee Beans for Maximum Freshness
The moment your coffee beans arrive, you’re starting a race against time, but with the right process, you control the pace. Here’s exactly what to do from unboxing to that final brew.
- Check and record the roast date immediately. Before you do anything else, find the roast date on the bag. Quality roasters print it clearly; if you can’t find one, that’s a red flag about freshness. Write the date on a label or in a coffee journal. This single number determines everything: beans roasted within the past week need 3-5 days to degas before they’re at peak flavor, while beans roasted more than four weeks ago are already past their prime. Knowing this date lets you plan consumption realistically and adjust your brewing to compensate as beans age.
- Choose your storage location before opening the bag. Scout your kitchen for a spot that stays cool (60-70°F), dark, and experiences minimal temperature swings. A pantry shelf away from the stove works well; a cabinet above the coffee maker does not. Avoid anywhere near windows, heating vents, or appliances that generate warmth. Temperature stability matters more than hitting an exact number, a 5-degree daily swing from sunlight or appliance heat cycles will degrade beans faster than a steady 72°F. Once you’ve identified the spot, commit to it. Moving beans between warm and cool areas invites condensation.
- Transfer beans to an airtight container only if necessary. Many specialty roasters use bags with one-way degassing valves and resealable zippers, these are excellent for short-term storage if you squeeze out excess air before resealing. If your beans arrived in a basic paper bag or a valve-less pouch, transfer them to an opaque, airtight container within 24 hours of opening. Ceramic canisters with silicone-sealed lids or stainless steel containers designed for coffee work best. Fill the container as full as possible to minimize headspace; a half-empty jar means more oxygen attacking your beans. Never wash containers with soap unless you can rinse obsessively, residual scents transfer to beans within hours.
- Minimize air exposure during daily use. Every time you open the container, oxygen rushes in and oxidation accelerates. Develop a quick-draw habit: open, scoop what you need for that session only, close immediately. Don’t leave the container open while you grind or set up your brewer. If you’re brewing multiple times a day, consider portioning a day’s worth into a smaller secondary container each morning, keeping the main stash sealed. Some coffee enthusiasts purge containers with inert gas (food-grade CO2 or nitrogen) before resealing, though this is optional for most home users.
- Track freshness and plan consumption accordingly. Mark your calendar for three weeks from the roast date, that’s your freshness deadline for optimal flavor. As beans approach week four, you’ll notice the bloom (CO2 release) diminishing during brewing and flavors flattening. Adjust your brewing technique: grind slightly finer to increase extraction, or accept that the coffee will taste different and plan to finish the bag within days. Buy quantities you can consume within this window. A 340-gram bag works for most households brewing daily; buying a kilogram to save money means you’ll drink stale coffee for half of it.
The beauty of this process is its simplicity, no specialized equipment beyond a decent container, no elaborate rituals. What matters is consistency. Do these five steps every time beans arrive, and you’ll taste the difference immediately: brighter acidity, more pronounced aromatics, cleaner finish. You’re not just storing coffee; you’re honoring the roaster’s timing and the bean’s potential.
Special Considerations: Freezing Coffee for Long-Term Storage
Freezing coffee sparks heated debate among specialty roasters and home enthusiasts, but current research supports it as a viable long-term storage method when done correctly. If you’ve stocked up on a limited-release bean or want to preserve multiple single-origin coffees without rushing through them, freezing can extend peak freshness from weeks to months, provided you avoid the moisture pitfalls that plague amateur attempts.
The key question is when freezing makes sense. It’s appropriate for beans you won’t consume within three to four weeks, for preserving competition-grade coffees at their peak, or when you’ve bought in bulk to save money or secure a rare lot. Freezing is not a fix for stale beans; it pauses degradation, so freeze coffee shortly after roasting while volatile compounds are still abundant. For your daily rotation, room-temperature airtight storage remains simpler and sufficient.
Proper vacuum-sealing is non-negotiable. Standard zip-lock bags allow air and moisture infiltration, which leads to freezer burn and flavor contamination. Use a vacuum sealer to remove all air, portioning beans into single-use amounts, ideally one to two weeks’ worth per bag. This prevents repeated freeze-thaw cycles, which create condensation inside the bag and accelerate staling. If you lack a vacuum sealer, double-bag beans in heavy-duty freezer bags, pressing out as much air as possible, though results won’t match true vacuum-sealed storage.
Your freezer should maintain a stable temperature at or below 0°F. Avoid storing coffee near the door where temperature fluctuates with opening and closing. Keep vacuum-sealed bags away from aromatic foods; even sealed, prolonged proximity to fish or garlic can allow odor transfer over months.
This thawing discipline is where most home freezers fail. Opening a cold bag in a warm kitchen causes immediate moisture condensation on bean surfaces, which then accelerates oxidation and creates off-flavors. Once thawed and opened, treat the beans as fresh-roasted and consume within the standard two-to-three-week window. Don’t refreeze; the freeze-thaw-freeze cycle destroys cellular structure and flavor integrity.
Recent studies, including work from UC Davis’s Coffee Center, show that properly frozen beans retain 95% of their sensory characteristics compared to fresh-roasted controls, while improperly stored room-temperature beans lose noticeable complexity within ten days. The science is clear: freezing works, but only if you respect the process.
How to Tell If Your Coffee Beans Are Still Fresh
Evaluating coffee freshness is less about rigid timelines and more about reading the beans themselves. Your senses are more reliable than any calendar, and learning to assess freshness will help you optimize both storage and purchasing habits.
Start with a visual inspection. Fresh beans typically display a slight sheen from natural oils migrating to the surface, especially if they were roasted darker or have rested for a few days. A dull, matte appearance often signals staling. Check for uniform color, fading or uneven patches suggest oxidation. If beans look chalky or excessively dry, they’ve likely lost much of their volatile complexity.
The aroma test is equally revealing. Fresh coffee releases a vibrant, layered scent when you open the container or crack a bean between your fingers. You should detect distinct notes, fruit, chocolate, florals, whatever the roast profile promises. Stale beans smell flat, one-dimensional, or faintly musty. If the aroma is weak or reminds you of cardboard, the beans have passed their prime.
During brewing, watch for bloom. When hot water first contacts fresh grounds, trapped CO2 escapes rapidly, creating a vigorous rise and bubble. Minimal or no bloom indicates the beans have degassed completely, which happens naturally over time but accelerates with poor storage. A weak bloom does not ruin the cup, but it signals diminished aromatics.
Here are the key freshness indicators to assess at home:
- Visible oil sheen and uniform color (not dull or faded)
- Strong, complex aroma when container is opened
- Active bloom during the first pour
- Clean, sweet flavors without papery or rancid notes
Finally, taste. Fresh coffee delivers clarity, sweetness, and distinct flavor notes. Staleness announces itself as flatness, astringency, or cardboard-like dryness. Rancid oils produce an unpleasant, greasy aftertaste. If your morning cup tastes muted compared to last week, your beans are telling you something. Trust that feedback and adjust your storage or buying rhythm accordingly.
Next Steps: Building a Coffee Freshness Routine
The best storage setup fails if your buying and consumption habits work against it. Start by rethinking batch size: purchase only what you’ll finish in two to three weeks. Local roasters make this easy, they roast in smaller batches and clearly date their bags. When you buy weekly instead of monthly, you’re always working with peak-condition beans rather than managing decline.
Implement a first-in, first-out rotation if you keep multiple coffees on hand. Mark each container with its roast date using a label or grease pencil, and always reach for the oldest first. This simple system prevents forgotten bags from going stale in the back of your cupboard while fresh purchases sit up front.
Keep a tasting journal alongside your storage routine. Note the roast date, origin, and your impressions at different intervals, five days post-roast, ten days, three weeks. You’ll start recognizing how specific coffees evolve and when they hit their sweet spot for your palate. This awareness lets you time purchases better and adjust brewing variables as beans age. A coffee that needed coarser grinding on day seven might benefit from a finer setting on day eighteen.
Treat storage as part of your craft practice, not a chore. The fifteen seconds you spend sealing a container properly or checking a roast date directly impacts espresso shot quality and filter clarity. Small disciplines compound into consistently excellent coffee.
Common Questions About Coffee Bean Storage
Coffee storage sparks questions that recur across forums, roastery counters, and specialty coffee communities. Here are answers to the most common queries, grounded in science and practical experience.
How long do coffee beans actually stay fresh?
Whole beans peak between 7 and 21 days post-roast, then gradually decline over the next 2-3 weeks. Proper airtight storage can maintain acceptable quality for 4-6 weeks total, but aromatic complexity and sweetness diminish as volatile compounds escape and oxidation progresses.
Should I grind beans in advance to save time?
No. Ground coffee loses freshness exponentially faster than whole beans because grinding increases surface area exposure to oxygen by roughly 10,000 times. Pre-ground coffee goes stale within hours, not days, always grind and brew immediately before extraction.
Can I store different coffee origins in the same container?
Avoid it. Beans absorb ambient aromas and oils from neighboring coffees, causing flavor contamination that muddles each origin’s distinct profile. Use dedicated containers for each coffee, especially when storing contrasting roast levels or processing methods.
Does whole bean coffee really last longer than pre-ground?
Absolutely. Whole beans retain protective structure and lower surface area, slowing oxidation and volatile loss. Pre-ground coffee becomes noticeably stale within 24-48 hours even in airtight storage, while whole beans maintain quality for weeks under identical conditions.
One question that divides enthusiasts concerns espresso versus filter storage. The answer is nuanced: espresso and filter beans don’t require fundamentally different storage methods, but espresso’s sensitivity to staling means tighter tolerances. Espresso extraction magnifies flaws, so beans past their prime produce sour, flat, or overly bitter shots more readily than they ruin pour-over coffee. If you’re dedicated to espresso, treat the 2-3 week post-roast window as firm rather than flexible.
Another frequent worry centers on CO2 buildup in sealed containers. Freshly roasted beans degas carbon dioxide for days, which can cause pressure in completely airtight jars. This is why valve-equipped containers exist, they release CO2 without admitting oxygen. If your container lacks a valve, briefly open it every few days during the first week post-roast, then seal tightly thereafter as degassing slows.
Humidity questions also surface often, particularly in tropical or coastal climates. Coffee beans are hygroscopic, absorbing moisture from the air, which accelerates mold growth and flavor degradation. If you live in high-humidity environments, silica gel packets inside your storage container can help, though the priority remains keeping beans sealed and away from moisture sources.
Proper coffee storage isn’t just about preserving flavor, it’s about honoring the entire chain of people who brought those beans to your kitchen. From the farmer who tended the trees to the roaster who carefully developed each batch, every step of the specialty coffee value chain depends on you, the final custodian, protecting what they worked to achieve. The difference between stale and vibrant coffee often comes down to decisions you make in the first few days after opening a bag.
The techniques in this guide aren’t complicated or expensive. An airtight container, a cool cupboard, and mindful habits will transform your daily coffee experience more reliably than any new brewing gadget. You’ll taste the difference immediately: brighter acidity, clearer origin notes, sweetness that lingers.
This week, pick one improvement. Check your current container’s seal. Move beans away from that sunny windowsill. Start tracking roast dates. Small adjustments compound quickly, turning every morning brew into a reminder of why you fell in love with specialty coffee in the first place.